December 25, 2012

Peppermint Brownies

mmmm, here's a tasty treat I'm definitely going to make again (and I'm pretty sure all my neighbors wouldn't mind if I used this for neighbor gifts every year!)

I found my {inspiration} here (mint filling), here (ganache), and here (brownie).


1 cup granulated sugar
⅔ cup brown sugar
¾ cup (1½ sticks) butter, melted
2 tablespoons water
2 large eggs
2 teaspoons vanilla
1⅓ cups all-purpose flour
¾ cup unsweetened cocoa
½ teaspoon baking powder
¼ teaspoon salt

Heat oven to 350F. Line a 13 x 9 pan with parchment paper or aluminum foil, then lightly grease. In a large bowl, cream the sugars, butter, water, eggs, and vanilla. In a medium bowl, combine the flour, cocoa, baking powder and salt. Stir the dry mix into the wet mixture and stir to combine. With a rubber spatula, spread the batter into the prepared pan. Bake for 18 - 22 minutes.

After completely cooled spread the peppermint frosting/filling onto the brownies:

2 Cups Powdered Sugar
1/4 cup butter, softened
3-4 drops peppermint essential oil (or 1 1/2 tsp. peppermint extract)
1-2 TBSP Milk
red food coloring (1-5 drops, depending on your desired color)

Pour & spread ganache over top:

1/2 Cup Semisweet Chocolate Chips
1/4 Cup heavy Cream

Mix & stir over low heat (or use a double boiler) until chocolate is completely melted.

Sprinkle crushed candy canes over the top to make it pretty. :)

Chill in the refrigerator before cutting.

ENJOY! (and share so you aren't tempted to eat the entire pan!)

Photobucket

July 19, 2012

Peasant Dress


So much has happened in my personal life this year - partially causing the blogging hiatus. Slicing my finger which required surgery to repair the nerve & tendon, dealing with a torn ligament in my ankle, finding out baby #3 is on the way, and finding out we'll be having a GIRL!

I've been wanting to sew girl things for a while, but have yet to make it to the fabric store to stock up on girly fabrics. However, in an attempt to be more organized, I was gathering up items to donate and realized I do have girly fabric... just in the form of other items. A lightly used scrub top worked perfectly to provide me with more than enough fabric for this sweet little peasant dress!

So my project for today? Finally tackling one of the many ideas I've gathered on Pinterest!

Abby's tutorial on Sew Much Ado is fantastic - so simple & thorough, not to mention FREE! Love it!


Photobucket

July 18, 2012

Blackberry Apricot Jam... Oh MY!


Canning season has begun! And this gem of a recipe is making me super excited! We have already enjoyed pounds of strawberries, a few summer squash & Zucchini, and now we're moving on to the Apricots & Blackberries! The last two weeks have been spent processing apricots. I've made lots of fruit leather and then I found THIS recipe. The smell is divine and the taste is absolutely scrumptious! It's a keeper for sure! What a great way to help us use up our produce!

A few hints (and things I want to remember when I make it again), the recipe makes about 4 1/2 pints. Also, although it says to process in a water bath for 10 minutes, after talking with my mom and looking at a few other recipes, I decided it was safe to skip this step. Instead I poured my boiling hot jam into super hot jars (leaving pretty much no head space) and tightened the lids- which I had in nearly boiling hot water- on as tightly as I could. Make sure there is no draft. I chose to cover mine with a dishtowel to keep drafts away. Within about 20 minutes I started hearing the little ear-pleasing "pings" indicating the success of our venture! 4 to store for later, and a half pint to enjoy now. Yum!


4 cups apricot puree (pit apricots and puree in blender or food processor until fairly smooth)
4 cups blackberry pulp
4 1/2 cups sugar
1 teaspoon cinnamon
1 lemon, zested and juiced
2 packets liquid pectin (one box)
In a large, non-reactive pot (stainless steel or enameled cast iron), combine the apricot puree, blackberry pulp and sugar and bring to a simmer. Let the mixture reach a boil, stirring frequently to prevent it from boiling over. Add cinnamon and lemon zest/juice and stir to combine. When the mixture appears to be thickening a bit, add the pectin. After adding the pectin, let the jam boil vigorously for at least five minutes.


Photobucket

January 11, 2012

a little LOVE


Whew! I did it! I completed a not-so-quick project that turned out absolutely nothing like I had envisioned... Tell me I'm not the only one that happens to. Right?

The finished result is not what I had planned on, but I do love it! And I love that it makes Valentines day seem a little closer!


These letters are yarn-wrapped foam board letters. I'll be honest. Way back when I first saw yarn-wrapped letters popping up all over the internet, I really didn't care for them. Over time I warmed up to them a bit. And now I've finally caved and made some for my own home. Using the foam board was, in my opinion, and excellent choice for someone like me. Where I wasn't sure I would love the way they turned out, I certainly didn't want to spend money of the letter forms. Plus, I like being thrifty and using what I already have on hand. I love the way they look, but at a mere 1/4inch thick, these are great for standing in a plate groove or hanging up... definitely not for standing alone.

 Here's a few instructions if you feel {inspired} by this project. However, consider yourself warned: it is quite time consuming. Not hard. Just tedious.

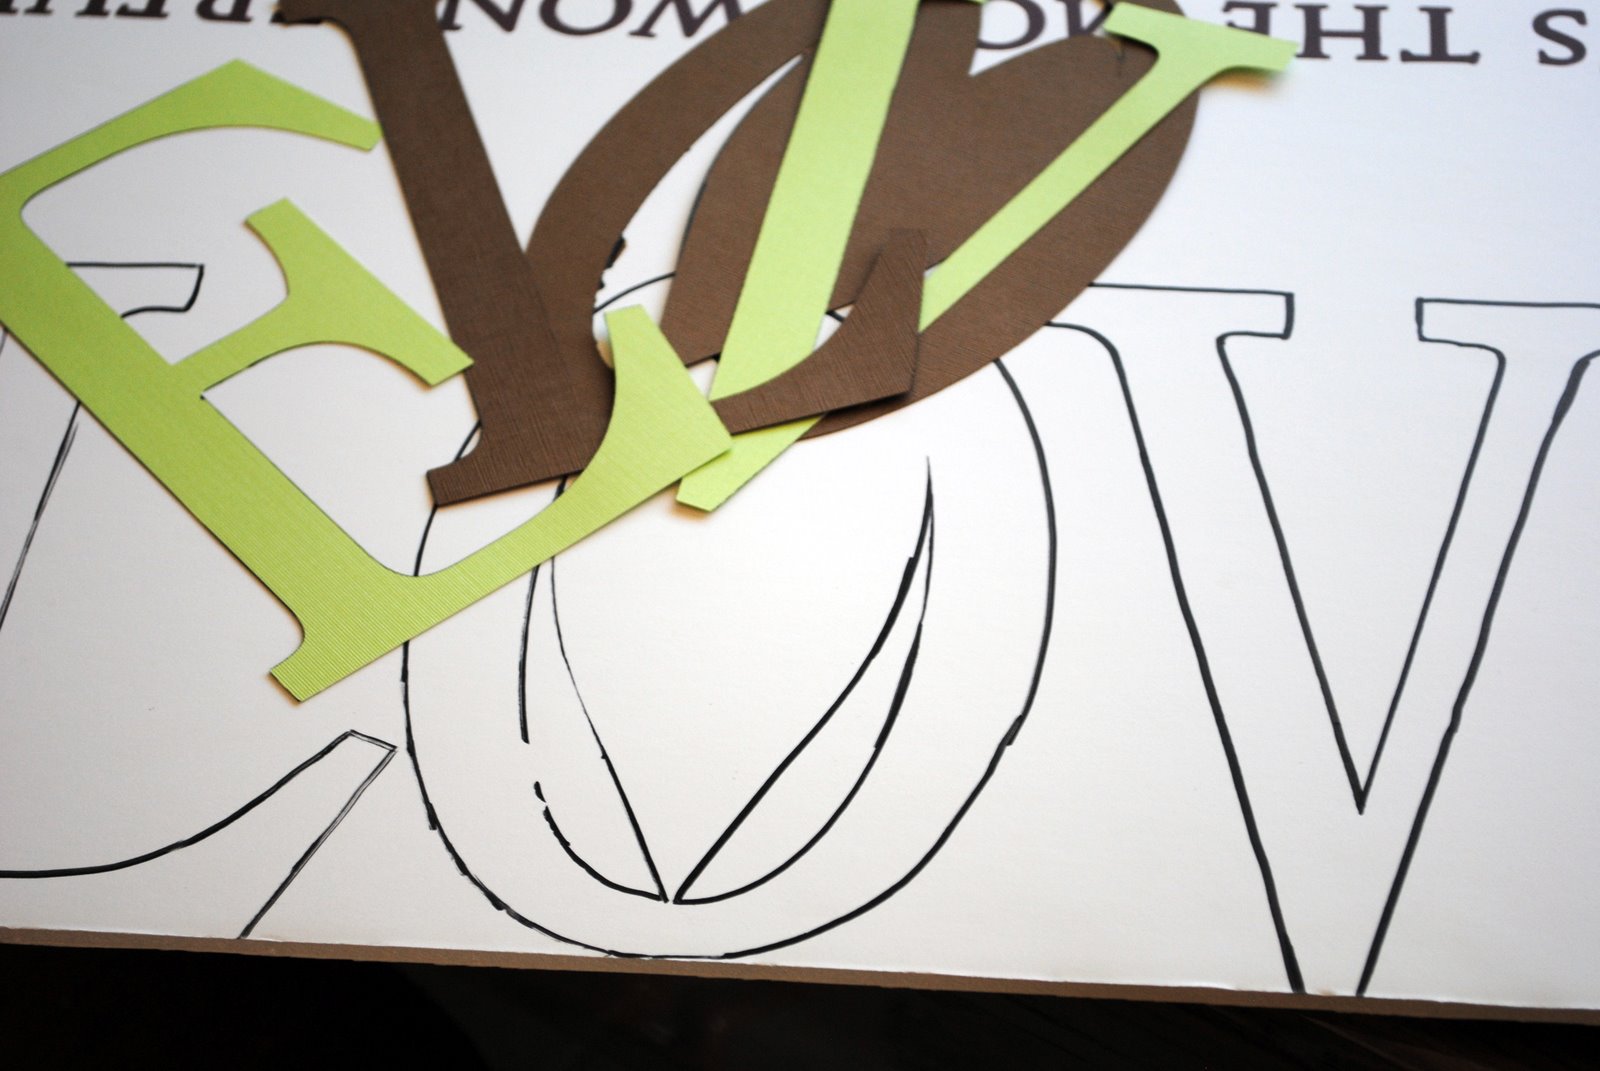
1. Cut out your letters on card stock to create your pattern. Mine are about 8 inches tall. I found a font I like and used SCAL with my Cricut to cut out my pattern. I also added a simple heart in the middle of the 'O' as a special little touch (but this definitely added difficulty to the project)

2. Trace your pattern onto foam board... then comes the part where I almost gave up (the first time)

3. Cut out your foam board letters. To do this I used a razor blade & my electric knife (see this post)

4. Trace the heart onto cutesy paper & mod podge the paper onto the foam board.

5. Start the yarn wrapping process. I used hot glue to tack my yarn down every once in a while to help keep it wrapped nice and tight. (plus, this is time consuming and sort-of boring. You may want to be able to just leave the project for a while. or, if you have kiddos, THEY may need some attention from you too!)


Yep, I saved the 'O' for last, knowing it would take the longest...


6. After wrapping all the letters with yarn (and taking several breaks... I'll be honest, I spread this project out over several days...), pick some paper to make rosettes.

I bought this textured pink paper a few years ago simply because it was unique and super cheap! Today I finally found a good use for it! I love the ruffled-y rose look it gives the rosettes! For my flowers, I chose to do these simple paper flowers.

Easy Peasy. Cut your paper into a spiral and start rolling from the outside - in. Once 99% rolled up, I filled the bottom in with some hot glue and twisted the last tiny bit of paper onto the hot glue.

7. Embellish those letters! Hot glue the flowers where you want them, and add a little contrasting yarn if you please. (THIS is where I really started to LIKE how it was looking... so glad I didn't trash this project when I was feeling like it wasn't turning out the way I wanted it to!)


Hmmmm, so happy with how it turned out!


Photobucket

I linked up to Oopsey Daisy's Wednesday Wowzers!

January 7, 2012

Sock Snowmen


I don't know about anyone else, but this weird-winter-weather has thrown me for a loop.

Christmas was wonderful, and, as always, it was nice to get back to "normal" after taking Christmas decorations down. However, when we woke up to snow this morning, it made me
feel "Christmas-y" all over again!

I assume we'll eventually get a winter-wonderland around here. Christmas decorations are down, but I'm not ready to take down all my winter decor... not when it hasn't even felt like winter.

So, my snowmen are out and I made a few more to add to the bunch!

I found a little {inspiration} from Amy over at Then She Made...


*socks

*scissors

*rice

*rubber bands

*acrylic paint


I tried a few different ways of doing it and I love'em all! Two out of one sock or ONE big snowman using an entire sock. They all worked. For their faces, I simply painted it on using acrylic paint and the end of a paintbrush handle.

While making my lil' sock friends, I felt {inspired} to create another little snowman using a container from the little baby cereal puffs...


Happy Winter!


Photobucket

Posted by Picasa

January 4, 2012

I Linked up...


Today I tried something new... I linked up this post:


in a linky party! Not any linky party either. The first ever party on one of my favorite blogs Oopsey Daisy. So head on over and see what other fun creations are being posted!And take a peek at some of her fabulous ideas!


Oopsey Daisy


Photobucket