

Whew! I did it! I completed a not-so-quick project that turned out absolutely nothing like I had envisioned... Tell me I'm not the only one that happens to. Right?
The finished result is not what I had planned on, but I do love it! And I love that it makes Valentines day seem a little closer!

These letters are yarn-wrapped foam board letters. I'll be honest. Way back when I first saw yarn-wrapped letters popping up all over the internet, I really didn't care for them. Over time I warmed up to them a bit. And now I've finally caved and made some for my own home. Using the foam board was, in my opinion, and excellent choice for someone like me. Where I wasn't sure I would love the way they turned out, I certainly didn't want to spend money of the letter forms. Plus, I like being thrifty and using what I already have on hand. I love the way they look, but at a mere 1/4inch thick, these are great for standing in a plate groove or hanging up... definitely not for standing alone.
Here's a few instructions if you feel {inspired} by this project. However, consider yourself warned: it is quite time consuming. Not hard. Just tedious.
1. Cut out your letters on card stock to create your pattern. Mine are about 8 inches tall. I found a font I like and used SCAL with my Cricut to cut out my pattern. I also added a simple heart in the middle of the 'O' as a special little touch (but this definitely added difficulty to the project)
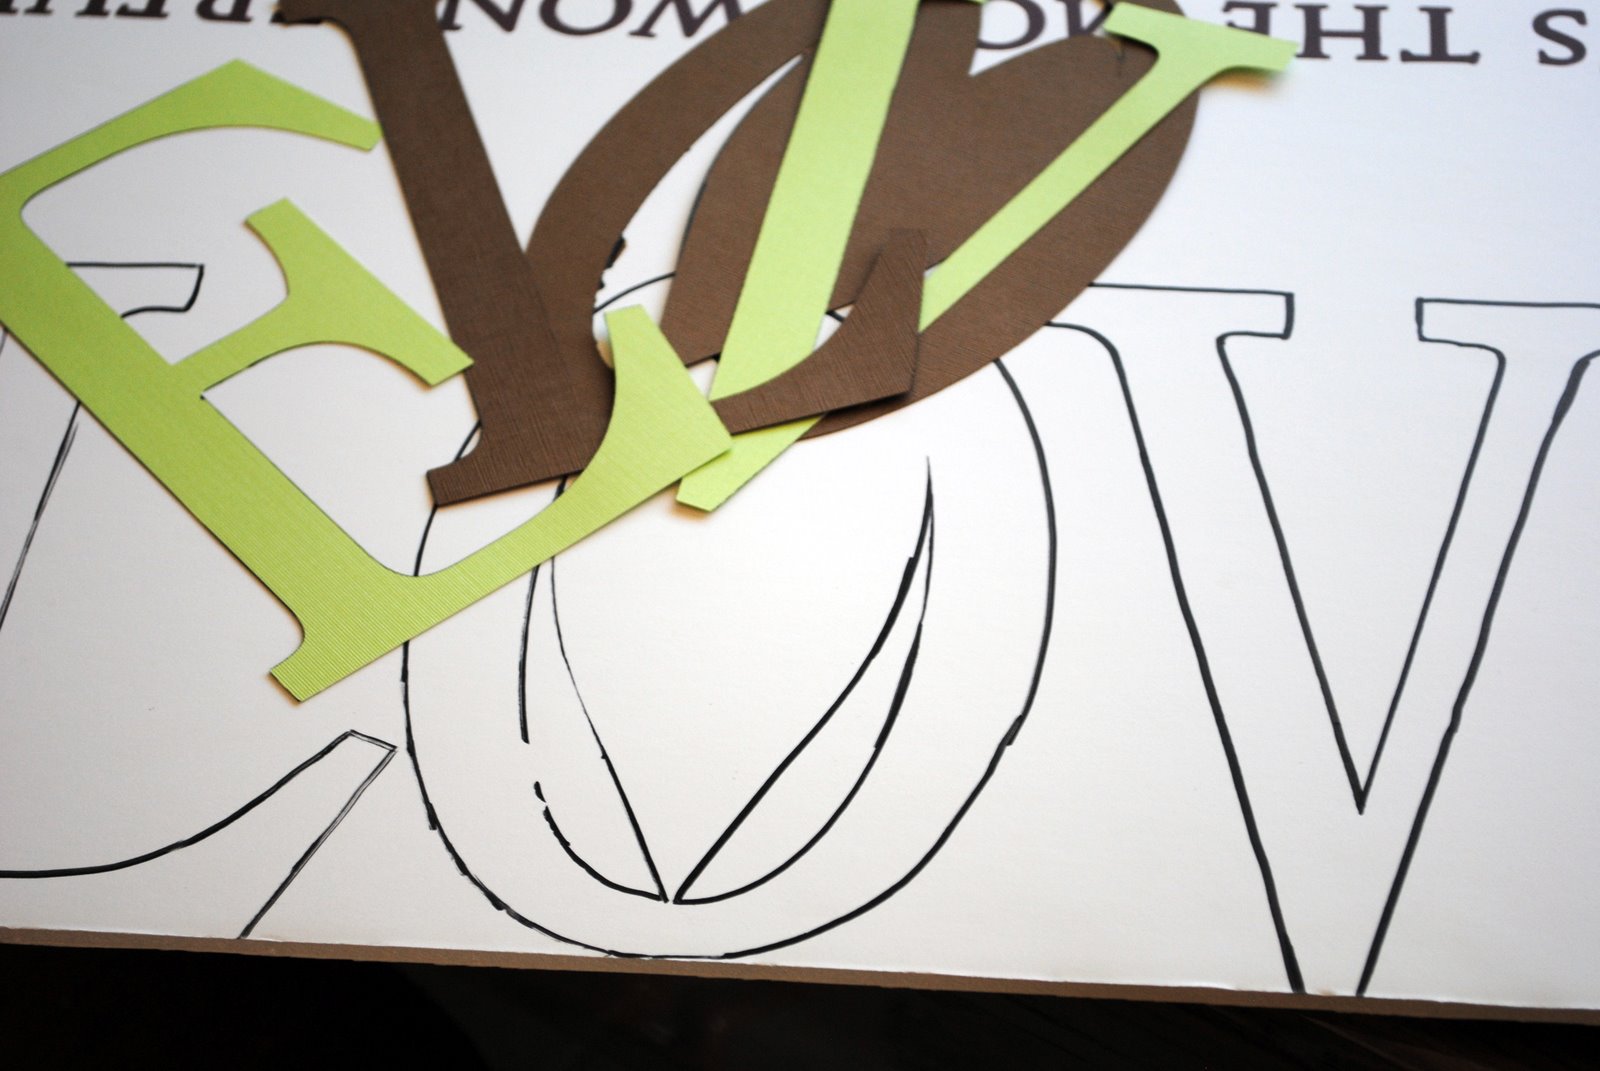
3. Cut out your foam board letters. To do this I used a razor blade & my electric knife (see this post)

5. Start the yarn wrapping process. I used hot glue to tack my yarn down every once in a while to help keep it wrapped nice and tight. (plus, this is time consuming and sort-of boring. You may want to be able to just leave the project for a while. or, if you have kiddos, THEY may need some attention from you too!)


I bought this textured pink paper a few years ago simply because it was unique and super cheap! Today I finally found a good use for it! I love the ruffled-y rose look it gives the rosettes! For my flowers, I chose to do these simple paper flowers.
Easy Peasy. Cut your paper into a spiral and start rolling from the outside - in. Once 99% rolled up, I filled the bottom in with some hot glue and twisted the last tiny bit of paper onto the hot glue.


Hmmmm, so happy with how it turned out!


